We Made Julia Child’s French Bread Recipe. Here’s What Happened.
Updated: Apr. 22, 2024
Here's the ultimate French bread recipe from the woman who brought French cooking to America.
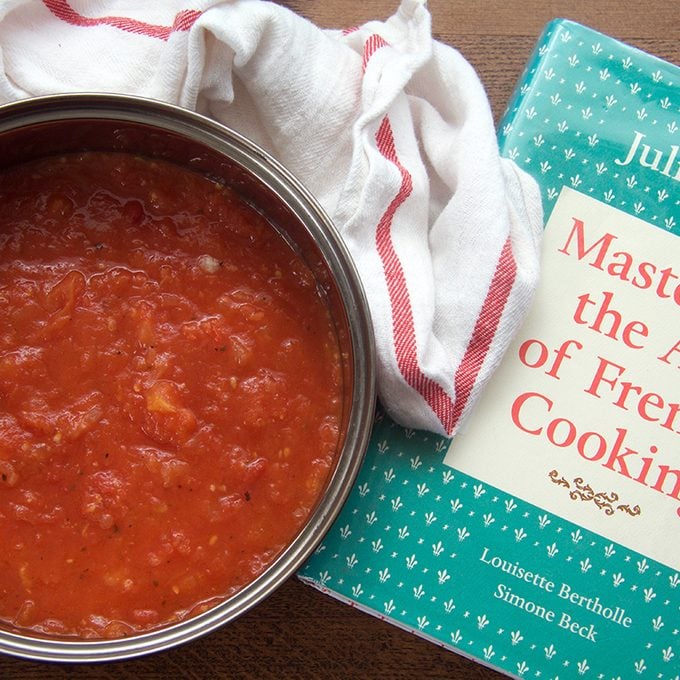
There’s nothing like freshly baked homemade bread. Plenty of wonderful recipes exist, but for the pièce de résistance, you’ll want to consult Julia Child and her superlative French bread recipe. This essential recipe is in Mastering the Art of French Cooking Vol. 2 (a must-have tome for any home cook). But you can easily google the recipe or watch the master herself at work over on YouTube.
As I come from a long line of bakers, I break out my mixing bowls at least once a week. I’ve made my fair share of sourdough loaves, dinner rolls, focaccia and soda bread, but I’ve never made French bread. Needless to say, I was keen to try this recipe. Here’s how I got on!
How to Make Julia Child’s French Bread Recipe

While there are many types of French bread, you can use this basic recipe to make many different styles of bread, including short loaves, long loaves, a round loaf or rolls.
The Ingredients
- ½ oz. fresh yeast or ¼ oz. dry-active yeast
- 4 tablespoons warm water (not over 100º F)
- About 1 lb. strong plain flour
- 2¼ teaspoons salt
- ½ pint (1 cup) tepid water (70º F to 74º F )
Start by making the dough
The first step in Julia’s French bread recipe is to stir the yeast into warm water. While it was dissolving away, I measured out my flour into a large mixing bowl. (Here’s how to measure flour the right way.) A 3- to 4-quart bowl works perfectly. Once the yeast liquefied, I added it to the flour along with the salt and water and mixed everything together with a rubber spatula to form a rough dough.
With the dough ready for its next step, I scooped it onto a clean surface and per Julia’s instructions, allowed it to rest for a couple of minutes.
Now for the fun part, kneading! Using my pastry scraper, I separated the dough from my countertop, slapped it down, flipped it over and repeated for Julia’s prescribed 2 to 3 minutes. This builds up the dough’s body, making it possible to do the essential push forward with the base of your hand before flipping it over again. All in all, it took about ten minutes to get the dough fully formed.
Note: The dough is quite sticky and you will “knead” more flour.
After this first step, I let my dough rest for about 4 minutes then kneaded for one more minute. As Julia promised, my dough was smooth and significantly less sticky but remained soft and supple.
Time to rise and shine
The next step was to slip my dough back in my clean mixing bowl and cover it with plastic wrap for the first of three risings. Julia recommends three to five hours at about 70º F for this initial rise. It’s been a mild winter where I live in Scotland, but it’s still a bit chilly so I cranked up the radiator and set my dough in its general vicinity.
My dough took a little over four hours to fully rise. As Julia writes,
“…The dough will be fully humped into a slight dome, showing that the yeast is still active; it will be light and spongy when pressed.”
Light and spongy? Check and check. On to deflating the dough!
Using my handy rubber spatula, I carefully removed my dough from the mixing bowl and set it onto a generously floured countertop. With lightly floured hands, I gently flattened my dough into a circle, deflating the odd gas bubble as I went along. The next step was to fold the dough over itself.
In Julia’s words, “Lift a corner of the near side and flip it down on to the far side. Do the same with the left side, then the right. Finally, lift the near side and tuck it just under the edge of the far side.”
The result was a lovely rounded dough ready for its second rising of 1½ to 2 hours, or until the dough is just under three times its original size. If your bread isn’t rising, here’s what to do.
Cutting, shaping and the final proof
After the second rise was completed, it was time to shape the dough. Julia offers several suggestions for shaping the dough. Depending on the shape you choose, this recipe yields three long loaves, six short loaves, twelve small rolls or one large loaf. I opted for the latter because it’s perfect for panini, but Julia breaks down the technique for forming each style in her book.
For my round loaf, I turned the dough out onto my floured countertop, loosely covered it with plastic and let it rest for five minutes. Then I folded the left side of the dough so that it did not quite meet the edge of the right side. I repeated this process from right to left, then turned the dough and performed left fold, right fold, turn another eight to ten times as instructed.
From here, I rotated the dough in between my hands, gently tucking small segments under the base until I had a nicely formed ball. If you go this route, you’ll notice that all of the edges will form a pucker. Keep this puckered side up as you place your dough on a well-floured canvas cloth. Seal the dough and cover with another floured cloth topped with cling film.
Now, let the dough rise for the third and final time—approximately 1½ to 2½ hours. Read the best cooking lessons from Julia Child while you wait.
Into the oven
About half an hour before I started baking, I preheated my oven to 450º F. Next, I flipped my dough so that the soft underside was on top. This allows the dough to rise again once it’s in the oven. Taking a well-sharpened knife, I slashed the top of my dough. For a crispy, brown crust, Julia writes to moisten the dough with cold water using a pastry brush. After painting my dough, I placed it directly into the oven and proceeded to give it a cold water wash every three minutes until I’d done four washes in total.
The bread baked for a total of 25 minutes and when it emerged from the oven, it was a beautiful golden brown. I left it to cool for the recommended 2 to 3 hours though I must admit, it was hard not to give it a taste.
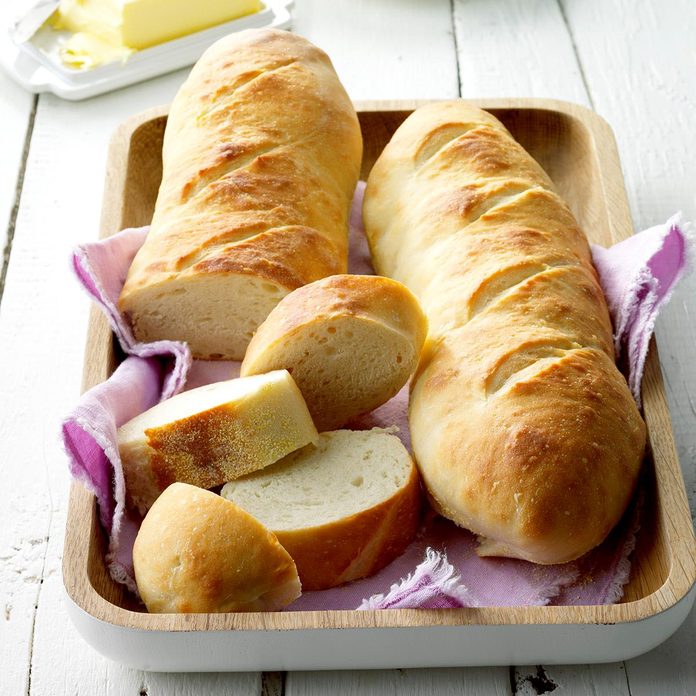
When it was finally cool, I was pleased to discover that my hard work had paid off! My French loaf did indeed taste as though it had come from a boulangerie.
My final thoughts
This recipe is a time-consuming one, but the effort is well worth it. Do yourself a favor and start early in the day. I made the mistake of beginning in the afternoon, so it was well into the night when my bread was finally ready. However, that meant it was perfectly cooled and ready to eat by morning. We used it to make this stunning vanilla French toast. If somehow any of the loaf survives, I plan on making this delicious banana bread pudding, too.
Making bread at home is incredibly satisfying. I enjoyed the process so much, I may just bake my way through the rest of Mastering the Art of French Cooking!
Note: Every product is independently selected by our editors. If you buy something through our links, we may earn an affiliate commission.


