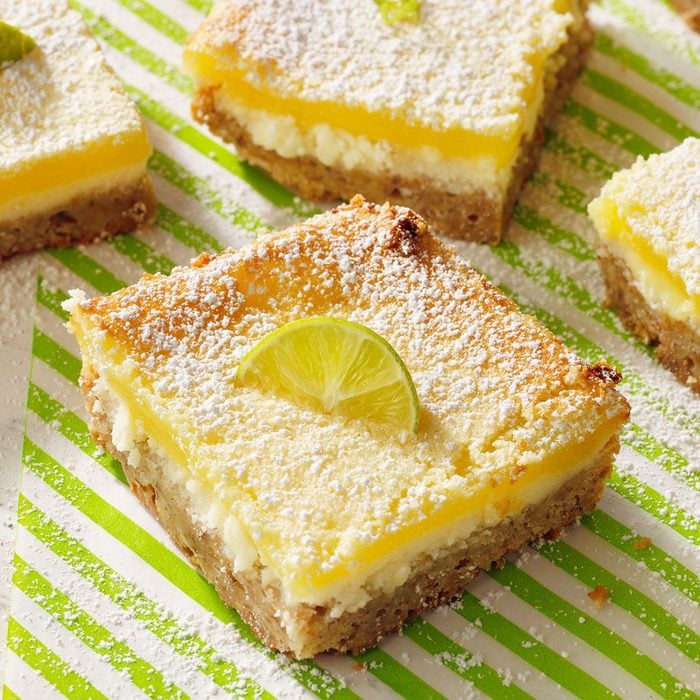
Citrusy desserts like Key lime pie are purely refreshing summertime treats, but not everyone wants to reach for a whole slice. Key lime bars, on the other hand, are easy to grab and even easier to eat. These handheld bars feature layers of sweet, buttery crust, rich cream cheese filling and bright Key lime topping. They set beautifully in the oven and offer the perfect balance of sweet-tart flavors.
These bars have become one of our favorite Key lime recipes for potlucks and parties. You can make them up to three days ahead, and they look gorgeous on a platter. Before you know it, the whole plate will be eaten up!
Ingredients for Key Lime Bars
- Crumb crust: A vanilla wafer crust adds a delightful contrast to the smooth cream cheese and Key lime layers. The crust achieves a just-right sweetness, and the addition of buttery pecans is a nice touch.
- Cream cheese: We flavor rich cream cheese with a little sugar and vanilla extract to fill out the middle layer of these Key lime bars. Softened cream cheese whips up easily, so set the cream cheese on the counter for 35 to 45 minutes. (If you forgot, pop it in the microwave at 5-second intervals until softened.)
- Key limes: Using bottled Key lime juice is undeniably easy, but it rarely impresses. Fresh Key limes are much more vibrant, so squeeze the juice yourself if you can. To juice citruses the easy way, toss the halved citrus in the food processor—peel and all. Then strain the whole mess through a fine mesh strainer. We’ve also hacked a garlic press to juice tiny Key limes. (Just make sure the press is clean of any garlic residue first. Otherwise, your bars might taste like garlic!)
- Eggs: Eggs add richness to the Key lime layer. We add the whole egg in this recipe, so don’t worry about separating the yolks.
Directions
Step 1: Prepare the crumb crust
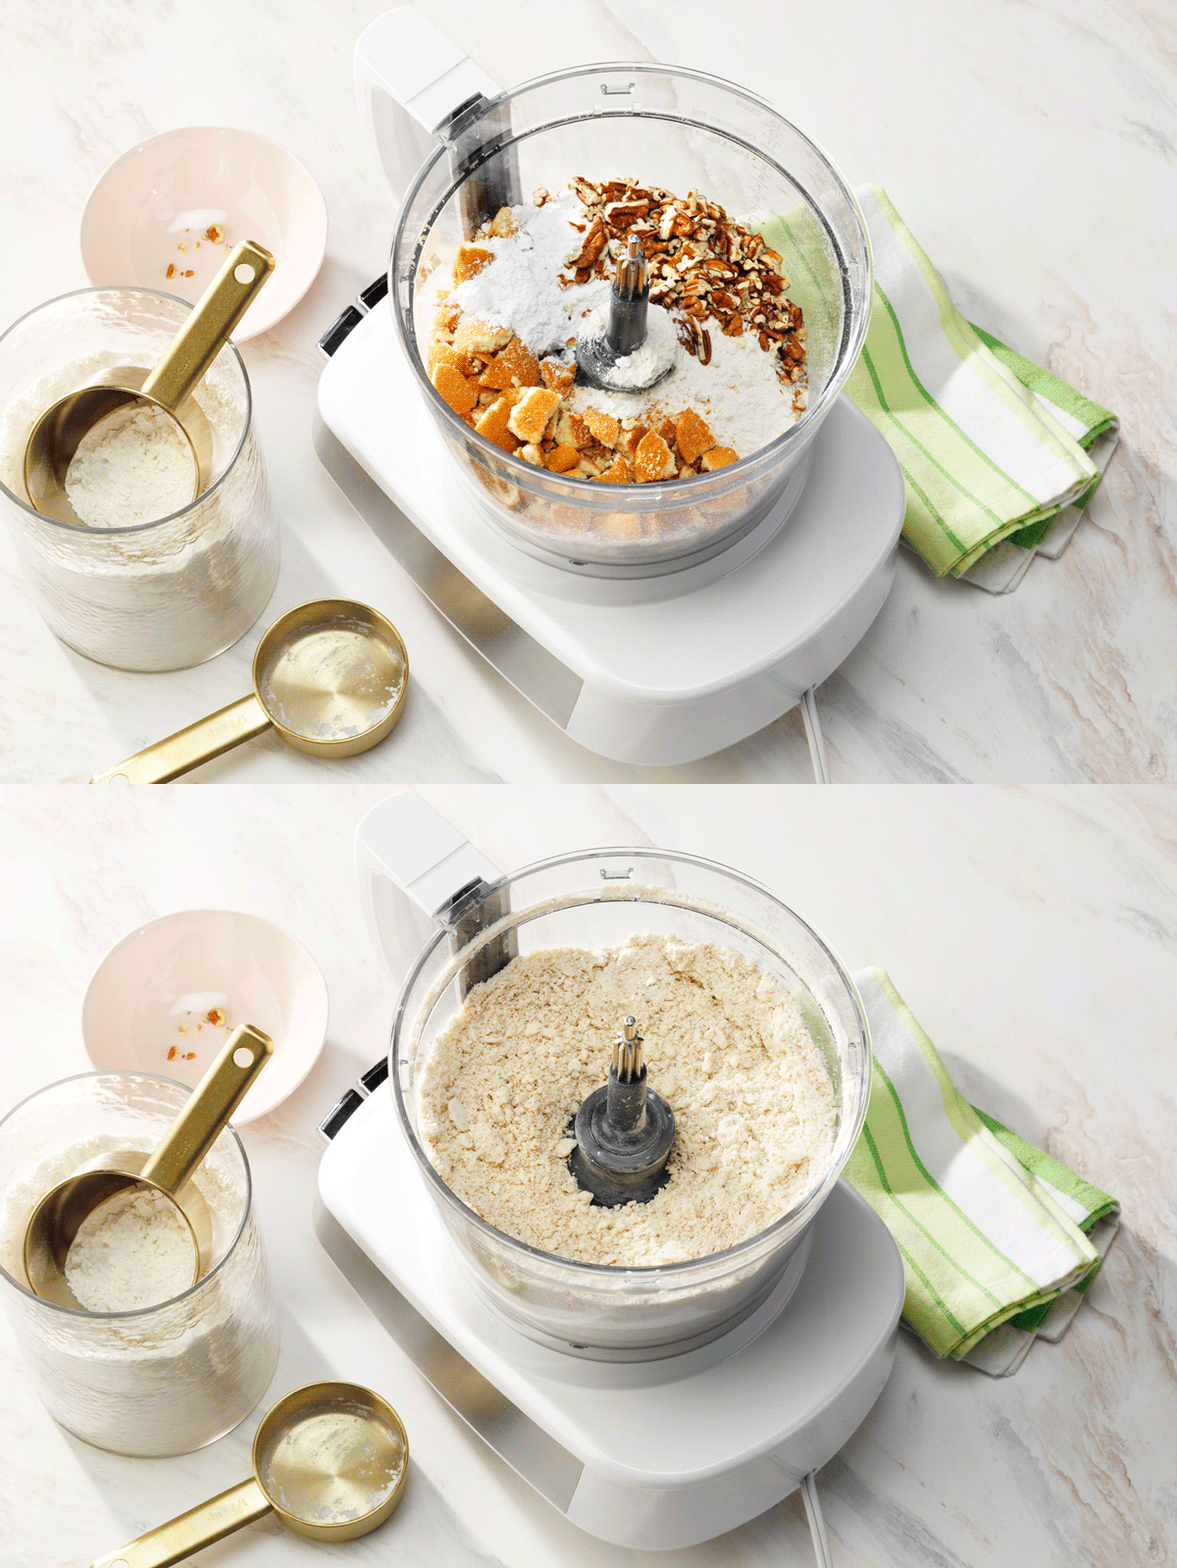
Preheat the oven to 350°F. In a food processor, combine the flour, wafers, confectioners’ sugar and chopped pecans. Process the mixture until the nuts are finely ground. Add the cubed butter. Pulse until crumbly.
Editor’s Tip: Make sure the butter is nice and cold. Cold butter helps the crust hold its shape so the Key lime bars won’t crumble as you eat them.
Step 2: Bake the crust
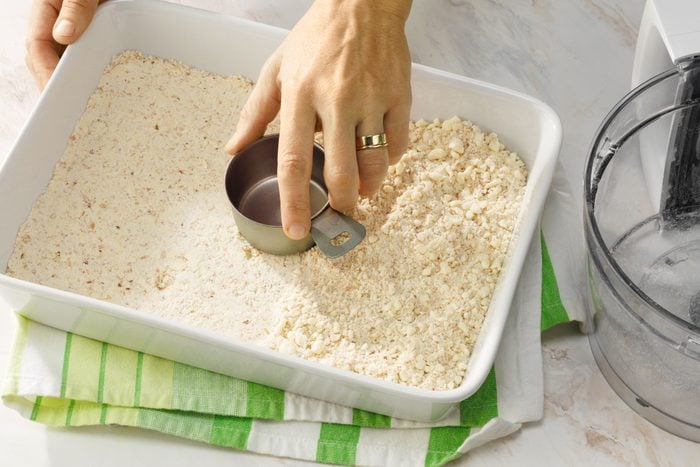
Press the crust into an ungreased 13×9-inch baking dish. Bake for 15 to 18 minutes, until lightly browned. Transfer the baking dish to a wire rack, and let cool.
Editor’s Tip: To avoid any chances of the Key lime bars sticking to the baking dish, you can line the dish with parchment before filling with the crust.
Step 3: Create the cream cheese layer
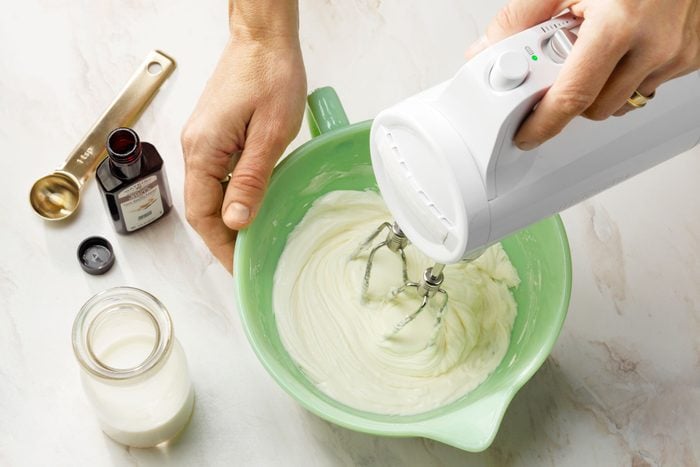
In a small bowl, beat the softened cream cheese, sugar, milk and vanilla until blended. Spread the cream cheese mixture over the crust to the edges of the baking dish.
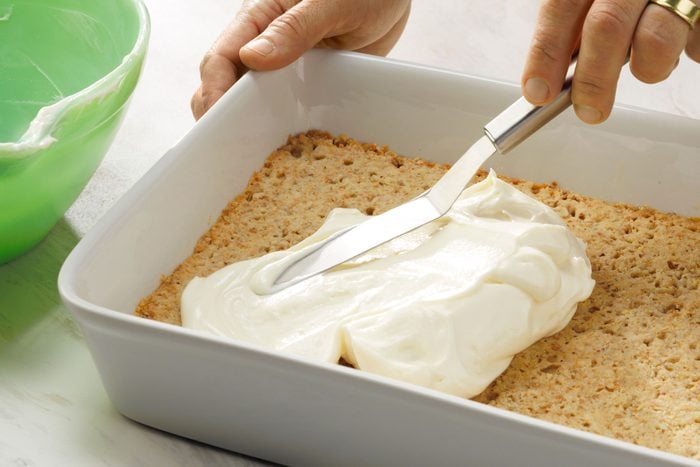
Editor’s Tip: A hand mixer is really (ahem) handy for this step.
Step 4: Add the Key lime layer
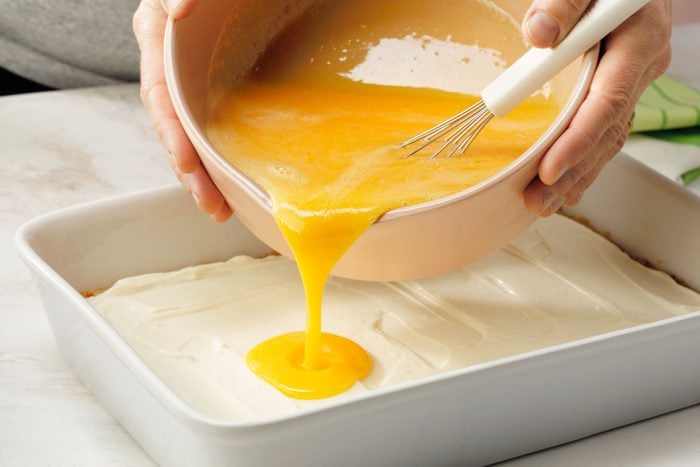
In another small bowl, combine the sugar and flour. Whisk in the eggs and Key lime juice. Gently pour over the cream cheese layer.
Step 5: Bake and cool the Key lime bars
Bake for 20 to 25 minutes, until the filling is set. Transfer the baking dish to a wire rack, and let cool.
Once cool, refrigerate the baking dish for one hour, until chilled.
Editor’s Tip: We know you’re excited to try these Key lime bars! But refrigerating the bars ensures they’re fully set before you slice them.
Step 6: Slice and decorate
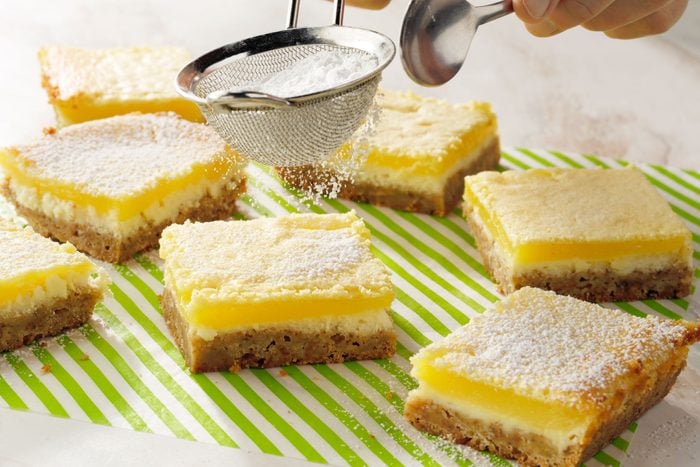
Cut the bars into 36 squares. Just before serving, sprinkle the bars with confectioners’ sugar.
Editor’s Tip: Need help creating picture-perfect slices? Here’s how to cut dessert bars.
Recipe Variations
- Use a different crumb crust: Use another crumb crust ingredient like graham crackers, pretzels, gingersnap cookies or shortbread cookies. You can also experiment with different nuts like almonds or macadamia nuts.
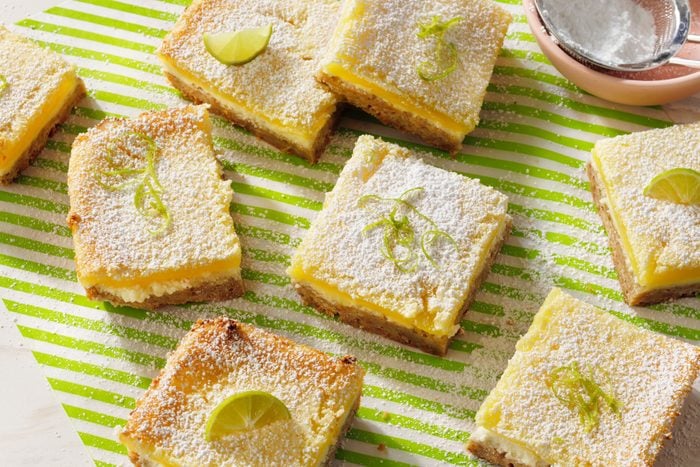
- Use other citrus: Key lime bars would be fantastic with a little lime zest. Or switch up the citrus, and make them with grapefruit, lemon or a lemon-lime mixture.
- Add fun flavor: Add a pinch of ground cinnamon or cardamom to the cream cheese layer. You can also add flavor after the bars are baked. Garnish the bars with whipped cream, chopped macadamia nuts, toasted shredded coconut or candied citrus.
How to Store Key Lime Bars
Key lime bars need to be refrigerated, so don’t leave them on the counter for more than two hours (or over one hour if the ambient temperature is above 90°). Wrap the bars in storage wrap, and keep them in the refrigerator for up to three days. If you don’t like them cold, bring them out of the refrigerator 30 minutes before serving.
Can you freeze Key lime bars?
Wrap the Key lime bars tightly, and freeze them for up to six months. For added protection, slide the wrapped bars into a freezer-safe resealable plastic bag or airtight container first. To serve, thaw in the refrigerator overnight.
Key Lime Bars Tips
Can you use regular limes instead of Key limes to make Key lime bars?
There is a difference between Key limes and limes, but they can be used interchangeably in desserts like Key lime bars. Regular limes will produce more juice, but Key lime juice is worth the squeeze. It has a tart character and an unmistakable floral aroma.
How many Key limes do you need to make Key lime bars?
Our Key lime bars recipe calls for 1/2 cup Key lime juice. As a general rule of thumb, four limes make 1/2 cup fresh juice, but Key limes are much smaller. Depending on their size and ripeness, you might need up to 20 Key limes to yield that same amount. If you end up with extras, use them as a garnish, or whip up another recipe with fresh citrus.
How do you cut Key lime bars into clean slices?
There are three steps to cutting Key lime bars into clean slices. First, remove them from the baking dish. Then, make sure the baked bars are fully cooled before you make the first cut. Even slightly warm bars can spread. Finally, use a bench scraper. This bread-making tool gives you more control than a knife. You can use an up-down cutting motion (instead of dragging a knife through the bars). This will create picture-perfect cuts with clean edges.


