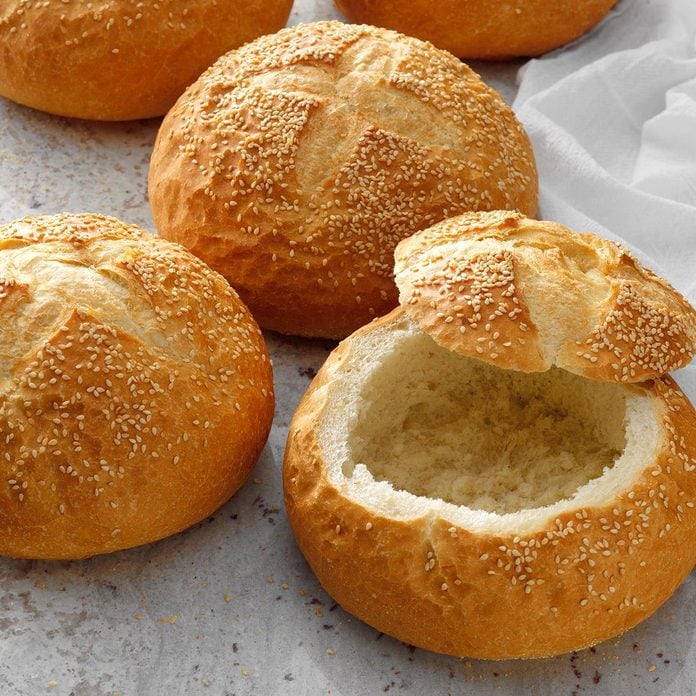
Nothing hits the spot quite like a bread bowl filled with piping hot soup—it takes a regular meal up a level to something really special. You might think crusty, artisan-style bread bowls are only available at restaurants like Panera, but we have good news. Bread bowls can be made at home!
Bread Bowl Ingredients
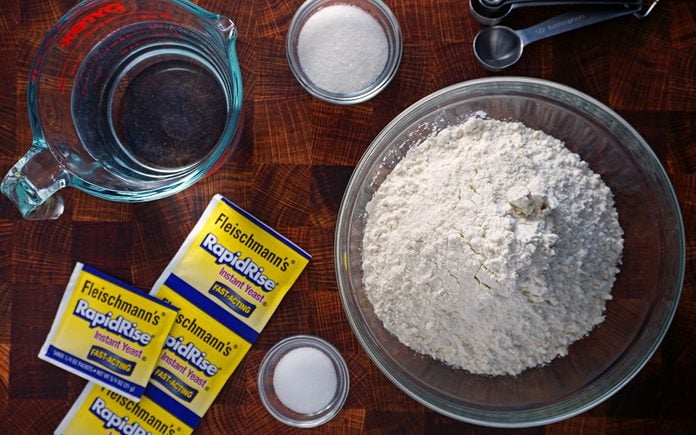
- Active dry yeast
- Water
- Sugar
- Salt
- Bread flour
- Egg
Directions
Step 1: Mix the dough
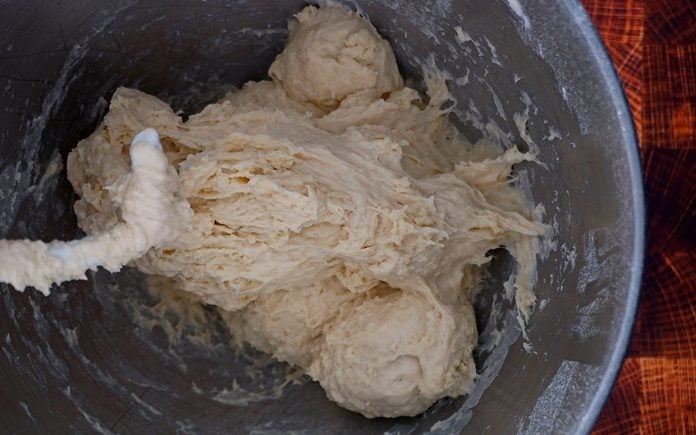
In the bowl of a stand mixer fitted with a dough hook, combine the yeast and water. Then, add the sugar, salt and 3 cups of flour. Beat on your mixer’s first speed for 3 minutes, stirring in additional flour until a soft, sticky dough forms.
Step 2: Knead
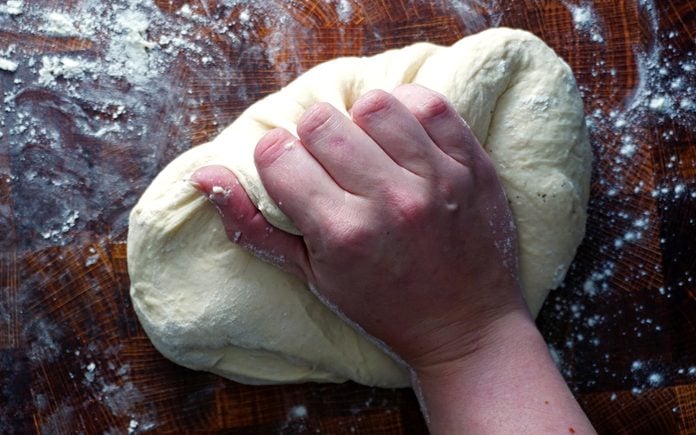
Increase your mixer to its second speed and knead the dough for 5 to 7 minutes until it’s smooth and elastic. Alternatively, you can also turn the dough out onto a lightly floured surface and knead by hand for 6 to 8 minutes.
Step 3: Proof
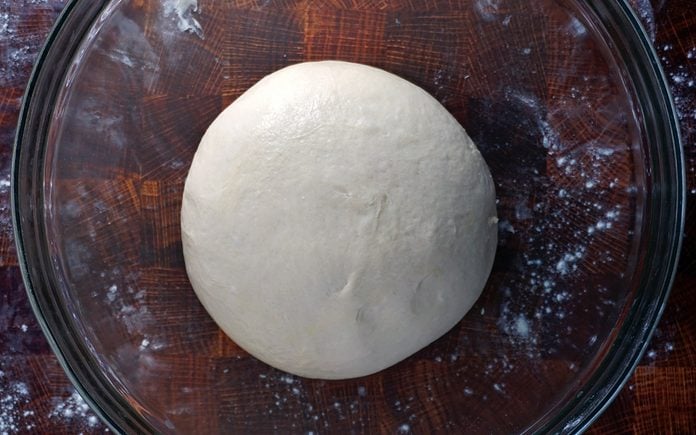
Place the dough in a greased bowl, turning once to grease the top. Cover with a kitchen towel and let the dough proof in a warm place until doubled, about 30 minutes. If you have a proof setting on your oven, that’s a great place to let your dough rise.
Step 4: Shape and rise
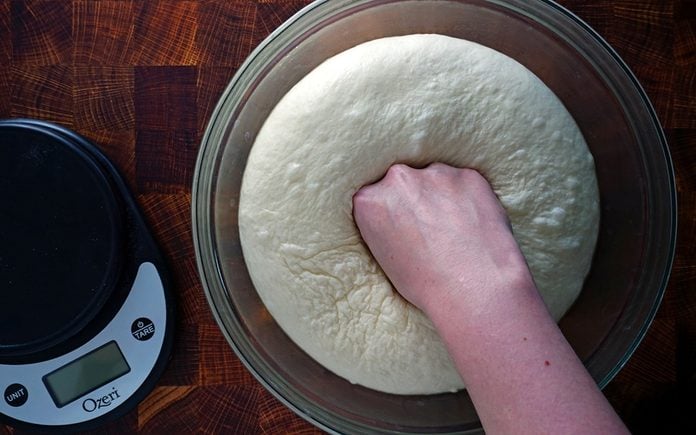
Preheat the oven to 500°F. Then, punch the dough down and divide it into six equal-sized balls, about 265 grams each.
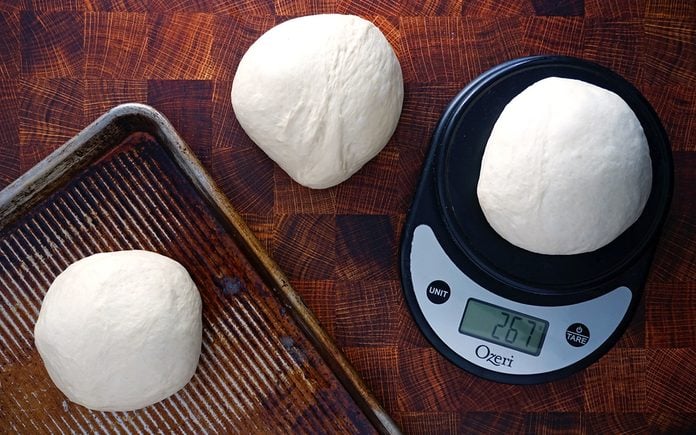
Place the balls 3 inches apart on two greased baking sheets. Cover the dough with a kitchen towel and let rise in a warm place again until doubled, about 15 minutes.
Step 5: Score and bake
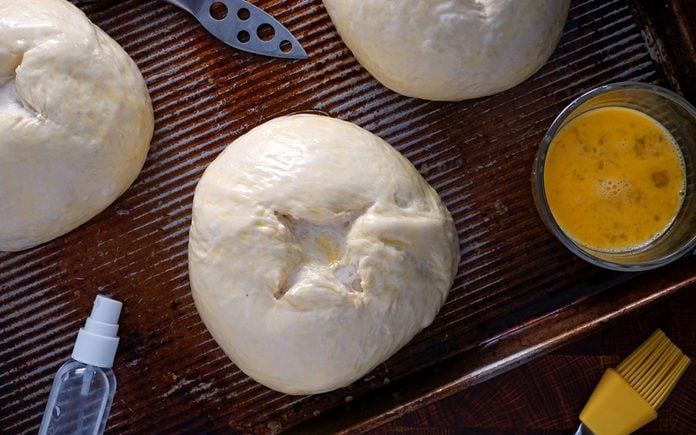
Prior to baking, brush the risen dough balls gently with egg wash and then spray with water. Using a sharp knife (or a bread lame), score the dough with shallow cuts in an “X” pattern. Bake for 2 minutes and then lower the oven to 425°. Bake the loaves until they’re a deep golden brown and their internal temperature reaches 190° to 200°, about 10 minutes.
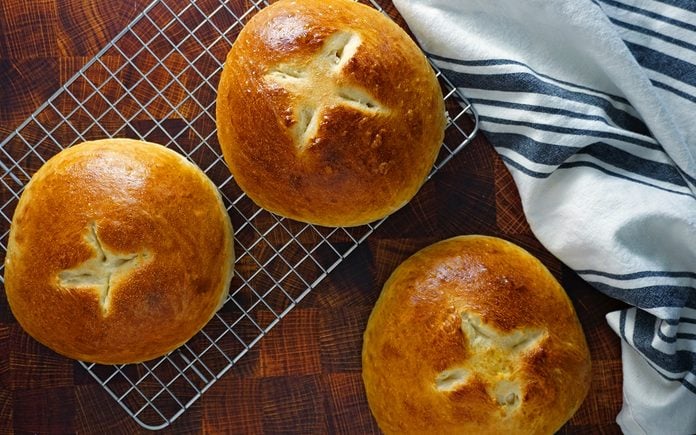
Remove promptly from the oven and transfer the loaves immediately to wire racks. Let cool completely.
Test Kitchen Tip: Brushing with egg and spraying with water is optional, but worth the extra effort. The egg wash gives the bread bowls a beautiful shine and rich, brown color, while the spritz of water helps the loaves develop a crusty exterior.
Step 6: Hollow
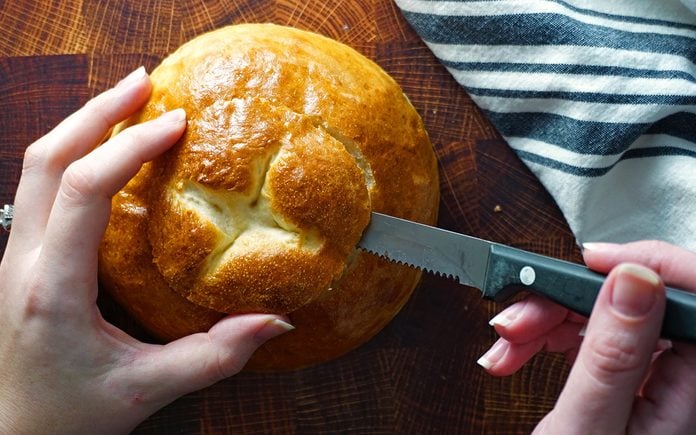
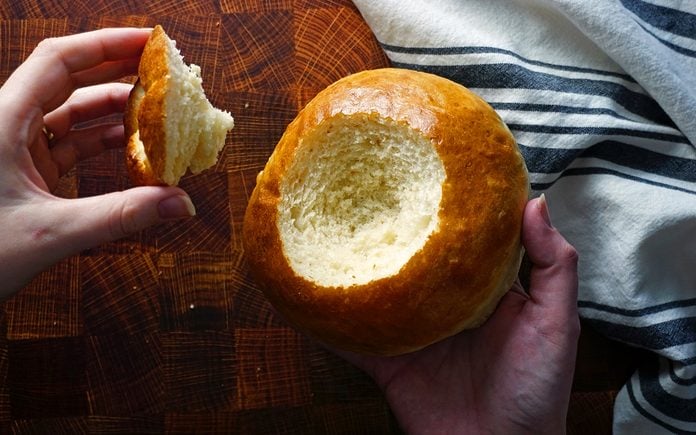
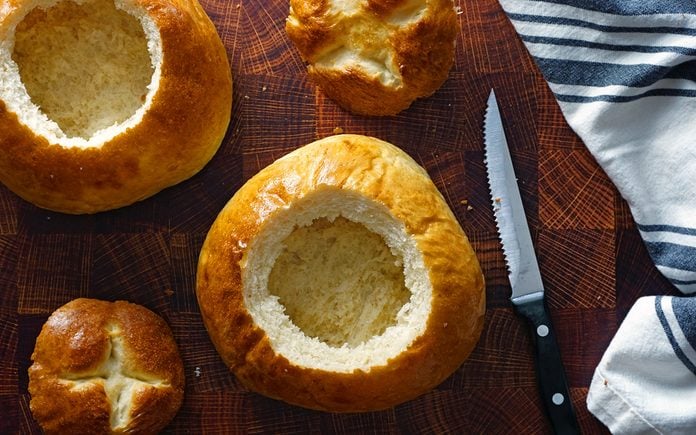
To hollow out the loaves and turn them into bread bowls, use a serrated knife to slice off the top of the bread. For best results, angle the knife and carve around the “X” on the top of each loaf—almost in the same way that you would remove the top from a pumpkin when carving a jack-o-lantern.
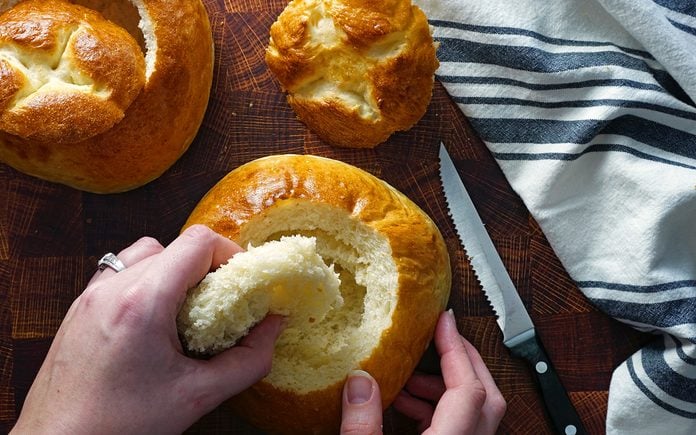
Next, hollow out the loaf using your hands. You want to gently pull out the bread, leaving a 1/2-inch shell.
Test Kitchen Tip: Don’t throw away the bread you remove. Save it for another use, such as making homemade croutons or breadcrumbs.
Step 7: Fill
Finally, fill each bread bowl with a warm soup, chili or dip of your choice. Serve immediately!
Can I make the bread bowls in advance?
The best part about making bread bowls is that you can easily tailor the recipe to accommodate your schedule. Once hollowed, however, we recommend enjoying bread bowls within 24 hours.
Mix-ahead directions:
After the initial rise in step three of the bread bowl recipe, punch the dough down and divide the dough into balls as directed in step four. However, rather than place them on a baking tray to proof a second time, refrigerate the dough balls in an airtight container for up to 2 days.
When you’re ready to bake, remove the dough from the fridge, let it come to room temperature and proceed with step five. One added benefit to this method is the bread bowls will develop a stronger, more robust flavor due to the slow fermentation of the yeast that will occur while the dough rests in the fridge.
Bake-ahead directions:
Bake and prepare the bread bowls as directed through step five. Then, store in an airtight container for up to three days. When ready to serve, hollow out as directed in step six and fill as desired.
What to Serve in Bread Bowls
Soup
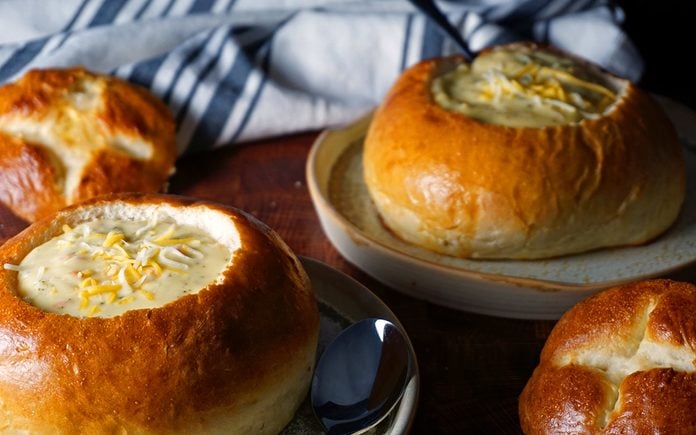
Broccoli cheddar, French onion, tomato…the options are limitless. You can put just about any soup in your bread bowl. Our personal favorites are those with a cream base (because they sit better in the bread) like baked potato, cream of chicken with wild rice or New England clam chowder.
Chili
Whether with or without beans, meaty or vegetarian, you can’t go wrong filling your bread bowls with a hearty scoop of chili topped with all the fixings.
Creamy Dip
Impress your family by filling a homemade bread bowl with dip. We think a warm, cheesy spinach artichoke dip pairs beautifully with these crusty bread bowls!
Bread Bowls Tips
What should I do if my bread doesn’t rise?
If your bread doesn’t rise, there are several possible causes, like the age of your yeast, the temperature of your water and the temperature of your proofing environment. While some of these bread baking pitfalls are salvageable, others will require you to learn from your mistake and start over. If the environment is too cold, just give it a little more time to proof, preferably in a turned off oven or somewhere else around 80°F.
What should I do if I poke a hole through the bottom of the bread?
Nothing is more tragic than a bread bowl with a gaping hole in the bottom. But don’t fret! Our favorite way to fix a bread bowl is with cheese “glue.”
To begin, grate a few tablespoons of cheese (preferably one that pairs well with your soup.) Then, sprinkle a little over the hole in the bottom of your bread bowl. Top the cheese with a few small pieces of the bread remnants you removed from the center of your loaves. Place the damaged bread bowl back into your oven at 350° for 3 to 5 minutes or until the cheese has melted. Remove and let the cheese “glue” cool completely. Then, fill as desired. It’s like it never happened!


